Woodturning is the craft of spinning wood on a lathe and using tools and abrasives to shape it into a finished product. Penturning is a subset of this focused specifically on creating handmade pens with a lathe. Before I purchased my first material, I did a lot of research and price comparing online to make sure I got all of the requisite components at the best price. Also, in the process of watching others work (primarily on YouTube), I picked up some best practices and identified some ancillary pieces of equipment that would make life easier and result in less waste. Due to my remote location, it will likely be much easier and cheaper for others to acquire the equipment and materials necessary to pursue this hobby.
How to Make a Pen

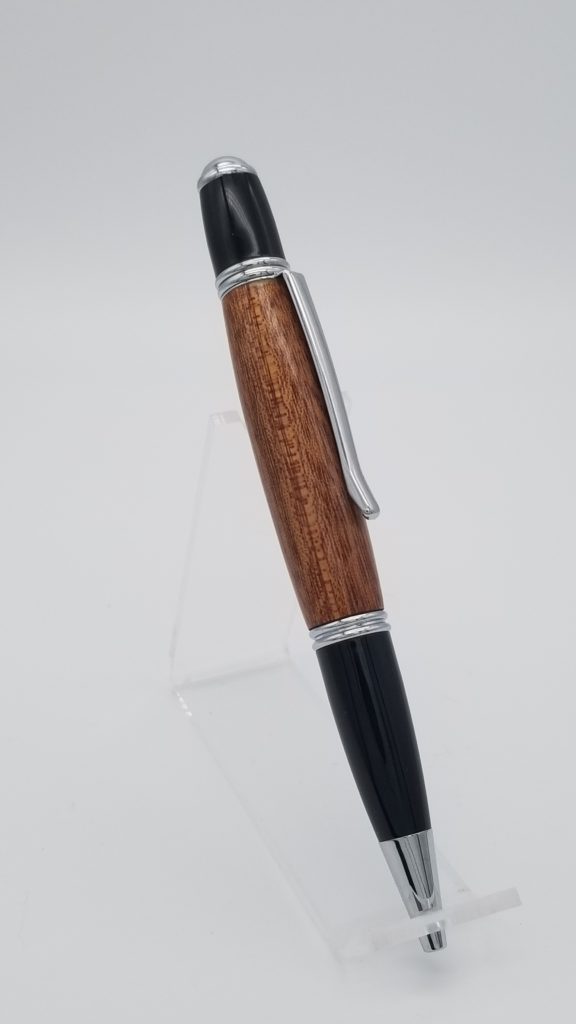
There are thousands of videos on YouTube about penmaking, and part of the reason I’m writing this is to help even one other person avoid having to reinvent the wheel or purchase something unnecessary or ineffective on any aspect of this hobby. Every pen style comes with a kit of components. The first pieces needed in the kit are the brass tubes (usually one or two). The brass tube needs to be inside the wood or acrylic material you’d like to become the pen surface. To do this, you need to drill a hole through the material and glue the tube inside the hole. After the adhesive cures fully, the material needs to be sanded or milled flat so that it mounts onto the lathe properly. You turn the material very fast and use tools to carve it to the profile you like, making sure the ends of the piece are of the proper diameter to match nicely with the pen kit components. Most kits have an optional set of bushings you can purchase to help with this. After carving, you sand the material down and finish it with your desired finish. The pen is ready to be assembled at this point. Voila!
If you think that sounds confusing, that’s okay. This isn’t meant to be the definitive guide to the process, but an overview of some of my tools and practices.
What You Need
- Lathe
- Chisels
- Drilling chuck or a drill press
- Wood/Acrylic stock (blanks)
- Adhesives
- Abrasives
- Finishing products
- Pen components
There are, of course, several other items that will make various parts of the process easier or more efficient, but that is the bare-bones basics to get make a pen start to finish. I may post further about my basic equipment in the future. Here are the non-essential, but very helpful tools to have on hand.
- Pen Mandrel – A mandrel is a rod onto which you mount the material to be turned. The alternative is to mount your work directly between the live and dead centers of your lathe. Mandrels allow you to turn multiple pieces at once.
- Mandrel Saver – This keeps your mandrel from being bent due to pressure from the tailstock.
- Pen Jaws – These mount onto a chuck that threads into your headstock. They hold long pen blanks perfectly straight for drilling.
- Center Drill Bits – Particularly when drilling into certain acrylic materials, drill bits can “travel” a little as they move through the blank. These bits begin a hole centered perfectly on the blank to help start the drill bit off on a true path.
- Trimming Sleeves – Whether you trim with a barrel mill or a disc sander, you’ll need trimming sleeves if you want to make pens that use anything larger than a 7 mm tube. These fit over your barrel trimmer or sanding jig and allow you to keep your blank exactly perpendicular to the trimming/sanding surface.
- Abranet – I also use traditional sandpaper, but Abranet is a mesh-like sanding material that prevents dust from building up and potentially marring the surface of your work.
- Micromesh – This comes in many forms, but my preferred style is a set of 9 padded polishing pads, color-coded by grit. There are other micro-abrasives available to achieve a smooth finish, but this is the one I use.
- Buffing Wheel – This three-wheel buffing system allows you to apply a series of wax polishes to your work while buffing them to a brilliant shine.
- Disassembly punches – When you accidentally press a pen component into the wrong end of a beautifully finished blank, you’ll be happy to have a set of punches on hand to safely remove the piece.
- Pen vice grips – These serve as a great complement to the disassembly punches above. This allows you to safely grip your pen to minimize any marring to the surface of your work.
- Compartmented Organizer – This will be crucial for keeping bushings, drill bits, and other small parts neatly organized and available.
In Closing
You only need the basics to get started, but some of the extras make certain steps of the process faster or easier. One of the best ways to save money as you get into this hobby is to narrow the number of styles of pens you choose to work on. Get really good at one or two styles that use the same drill bit size and bushings before investing in many styles of pen.
